Send Screenshot Data to Google Sheets
from a Sidebar — No Copy-Paste
There are two ways to get data from a screenshot into Google Sheets. The first — upload the image to Google Drive, open it with Docs for OCR, copy the recognized text, paste it into your sheet, and run Text to Columns to rebuild the structure — is the path most tutorials show. It works once. The second — open a sidebar in your spreadsheet, upload the screenshot, name the columns you want, and watch structured data fill the next row — didn't exist until add-ons could run AI extraction directly inside Sheets. The friction you tolerate once becomes the friction you resent the tenth time you do it.
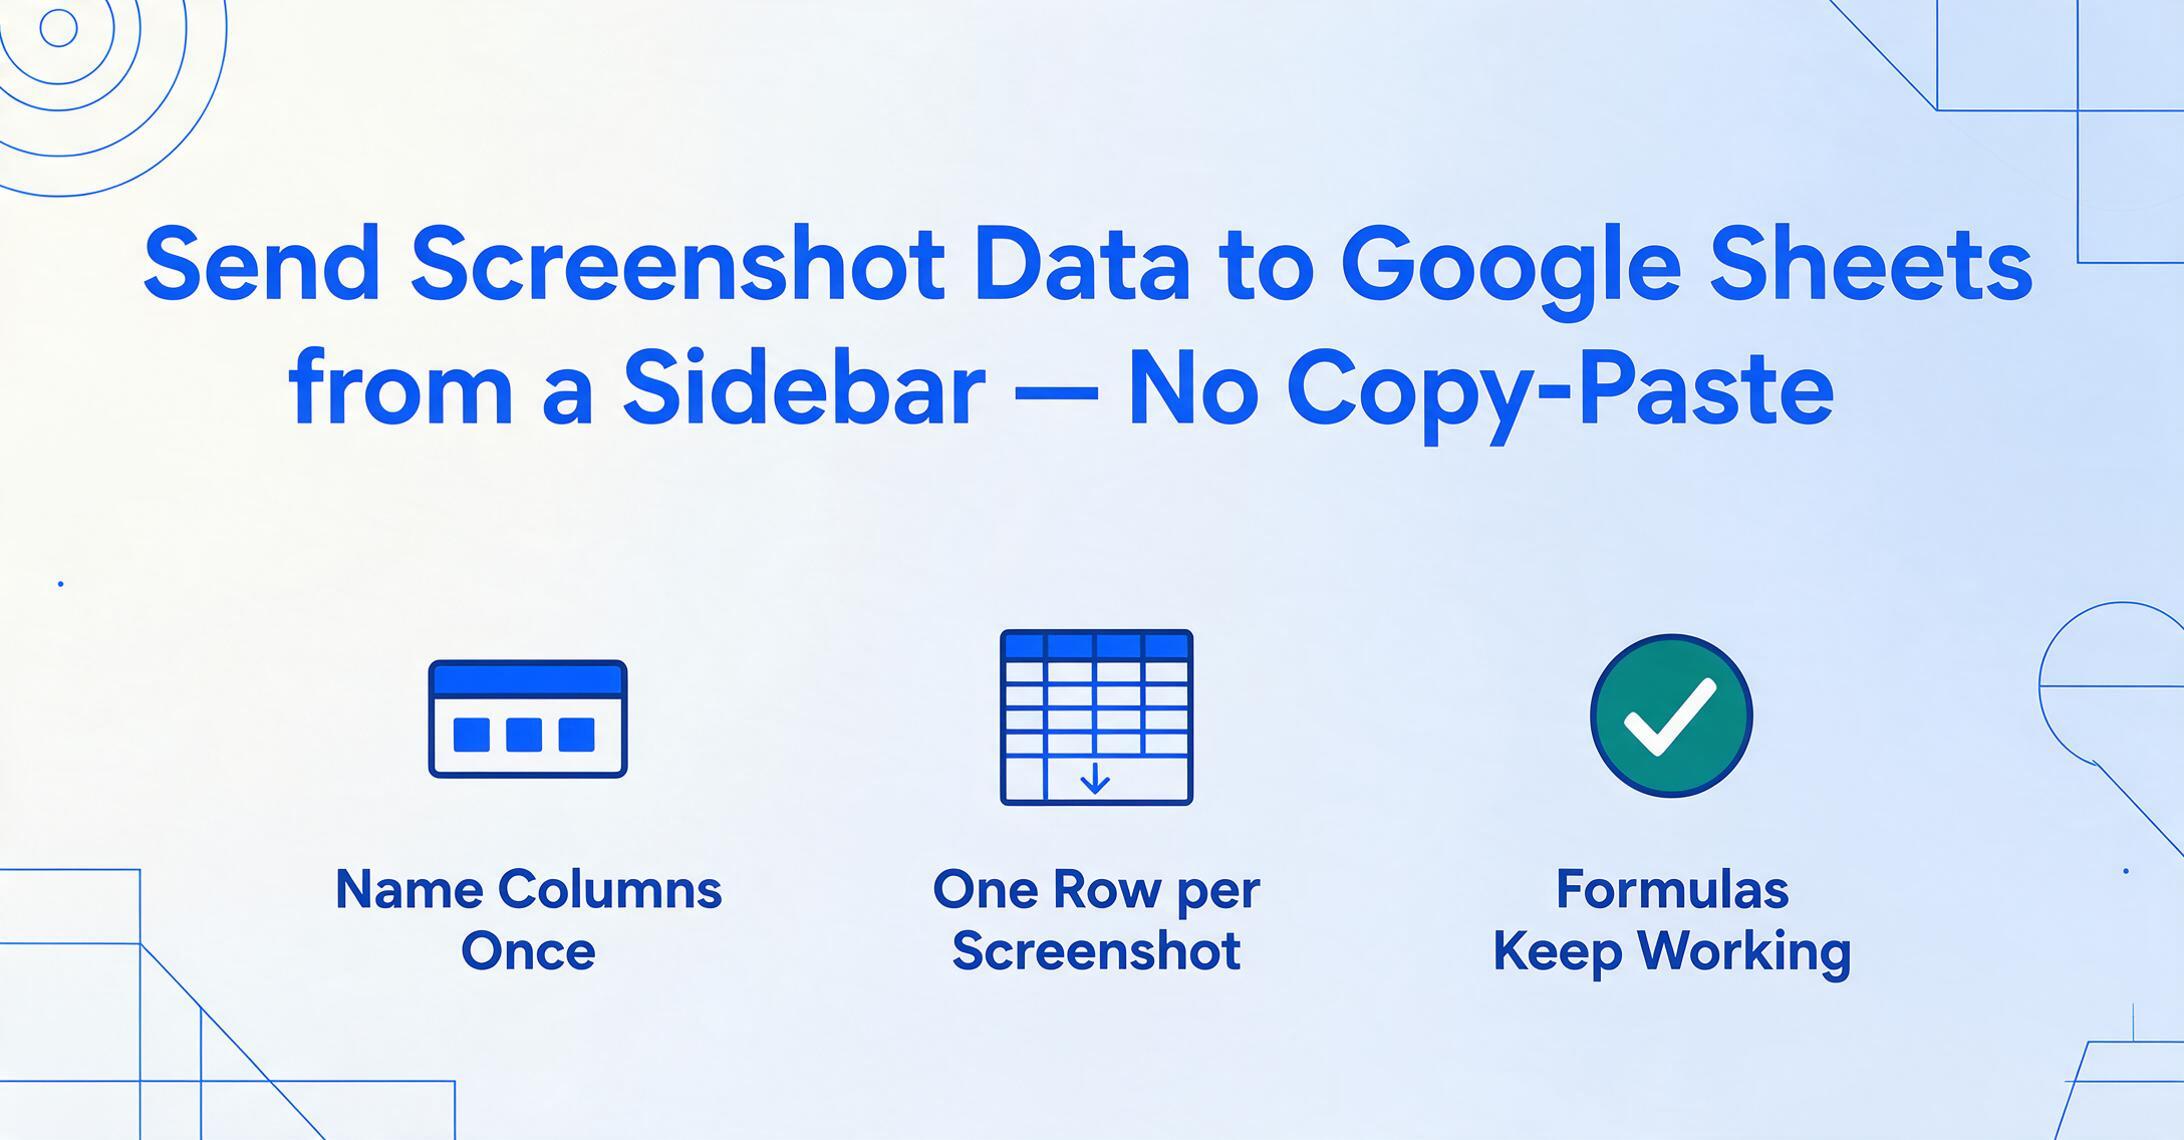
Key Takeaways
- Every screenshot you need in Google Sheets triggers a 9-step detour — upload to Drive, open with Docs, copy text, paste, manually split into columns — a 3-minute loop replayed for every new image that arrives.
- The real drain isn't inaccurate text recognition — it's the context-switching tax of leaving your spreadsheet tab for each screenshot, paid in 3-minute installments across every image that arrives.
- When extraction lives in a sidebar inside your spreadsheet — as ImageToTable.ai's add-on does — the question stops being how to get the screenshot in and becomes what to do with the data now that it's here.
Where Screenshot Data Gets Stuck
If your Google Sheets already processes live data — CSV feeds pulled through IMPORTDATA, filtered views through QUERY, dashboards built on pivot tables — your spreadsheet is not broken. It has one blind spot: it cannot read images. Every screenshot that holds data you need — a payment confirmation from Stripe, an order status from a supplier portal, a KPI readout from an internal dashboard — stops at the edge of your pipeline. Someone opens that screenshot, reads the three or four values out of it, and types them into the sheet.
For a pipeline that otherwise runs on automation, this one manual step is a category error. The formulas work. The imports work. The charts refresh. But the data supply chain has a hand-cranked segment in the middle — and screenshots keep arriving. A Reddit user in r/googlesheets described the default workflow bluntly: "I use the Windows snip tool or the Mac snip tool and just copy paste the images into my cells. It's not the best workflow." What they're describing isn't laziness — it's the absence of a better path that doesn't require leaving the spreadsheet environment.
The broader problem is not that extraction technology doesn't exist. It's that the existing extraction paths all demand you step outside the tool where the data is supposed to land. As we explored in the pipeline design for screenshot data in Google Sheets, adding screenshot extraction doesn't mean rebuilding your workflow — it means closing the gap at one specific insertion point. The question is which insertion method adds the least friction to the daily routine.
The Round-Trip Problem — Leaving Sheets to Get Data Into Sheets
The dominant free solution — Google Drive's built-in OCR — solves the extraction problem but creates a round-trip problem: you have to leave Sheets, switch to Drive, open the image with Docs, copy text, come back to Sheets, paste, and manually reformat the output into columns. For a one-off task, this seven-step detour is tolerable. For a workflow where new screenshots arrive daily or weekly — the round-trip wears through the tolerance.
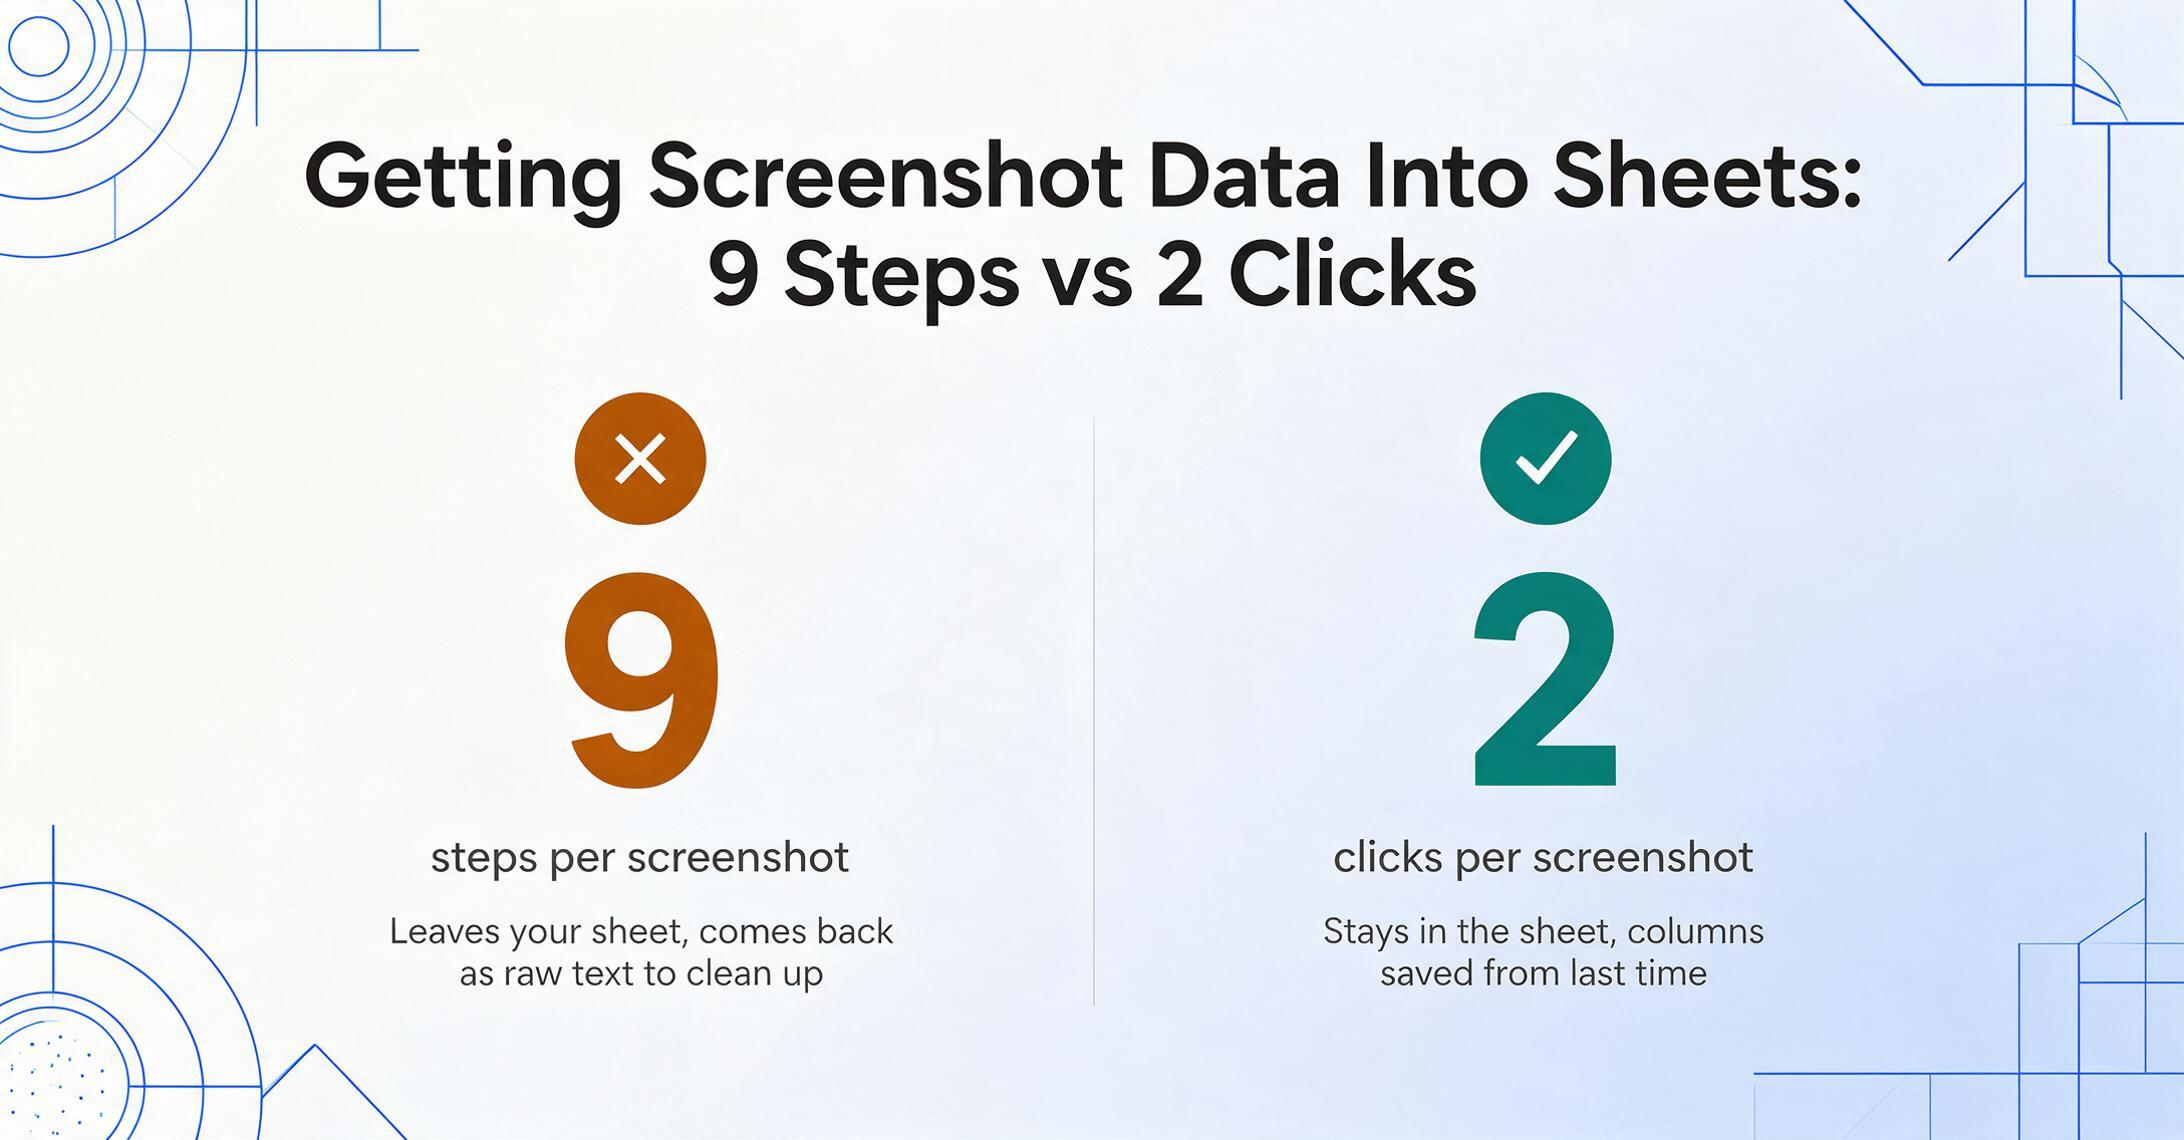
Here is what the Google Drive OCR path actually looks like for a single screenshot:
- Save or capture the screenshot to your desktop
- Open Google Drive in a new tab
- Upload the image file
- Right-click → Open with Google Docs (this triggers OCR)
- Wait for the Docs page to load with recognized text
- Select the text, copy it
- Switch to your Sheets tab, paste the text into a cell
- Navigate to Data → Split text to columns to separate fields
- Manually correct rows where OCR split a multi-word value (like a vendor name) across unintended columns
Nine steps. One screenshot. If the data source is consistent — same payment portal, same dashboard every time — you can script some of these away with Apps Script or Zapier. But most people don't. They do the round-trip manually. And when a Reddit user asked how to extract data from 600 screenshots — two per record for a 300-record personal project — the responses fell into two camps: "upload 10 at a time into ChatGPT" (hit rate limits) or "write a Python + Tesseract + OpenCV script" (overkill for a one-person project). Neither answer touched the spreadsheet itself. Neither answer kept the user in the tool where the data was destined to land.
The round-trip problem isn't about extraction accuracy. It's about context switching cost — closing your sheet tab, opening Drive, waiting for OCR, copying, pasting, reformatting — multiplied by the number of times you do it. The extraction happened. The friction happened everywhere else.
How a Sidebar Add-On Closes the Gap
A Google Sheets add-on with AI extraction capability — installed from the Workspace Marketplace, running as a sidebar inside your spreadsheet — turns the active sheet into both the upload interface and the output destination. You install it once. It lives under Extensions. The sheet you're working in is the sheet that receives the data. No tab switching, no intermediate files, no copy-paste.
Here is the mechanism, step by step:
- Install from the Google Workspace Marketplace. Search for the add-on, click Install, grant the requested permissions (read/write access to the active spreadsheet — the add-on needs this to append extracted rows).
- Bind your API Key. In your account on the tool's web platform, generate an API key. Paste it into the add-on sidebar once. This connects the add-on to your account — your usage counts against your plan quota, and your extraction history and custom column templates sync between the web app and the sidebar. One API key, one binding step, done.
- Open the sidebar. Extensions → [Add-on name] → Open. A panel appears on the right side of your spreadsheet — roughly 300 pixels wide, designed to stay out of the way while you work.
This architecture — a persistent sidebar that writes to the active sheet — is what distinguishes an extraction add-on from a standalone tool. When you use a desktop OCR app or a browser-based converter, the output is a file on your computer. You then have to bring that file into Sheets. The add-on skips the file step entirely: the data lands in the sheet as if you'd typed it, except you didn't.
This article covers the workflow logic; for the hands-on install-and-extract walkthrough — marketplace installation, API key binding, and your first screenshot to a sheet row in under two minutes — see how to send screenshot data from any app to Google Sheets. And for the complete product overview, the extract-to-Google-Sheets page covers the add-on's full capability set.
Unlike template-based OCR tools that require you to draw rectangles around each field, this type of add-on uses column-name extraction: you type the field names you care about — "Transaction Amount", "Reference Number", "Date" — and the AI locates those values anywhere on the screenshot by understanding what they mean, not where they sit on the page. A reference number in the top-right corner of one screenshot and the bottom-left of another resolves to the same column because the AI reads semantics, not coordinates. (For a deeper look at how column-name extraction works across different screenshot formats, see the guide on custom column extraction from screenshots.)
This is the critical difference between a generic OCR pipeline and an extraction add-on designed for workflow. OCR reads text. The add-on reads fields — and maps them to columns you've already named in the sheet you're already looking at.
One Upload, Structured Output, No Intermediate Files
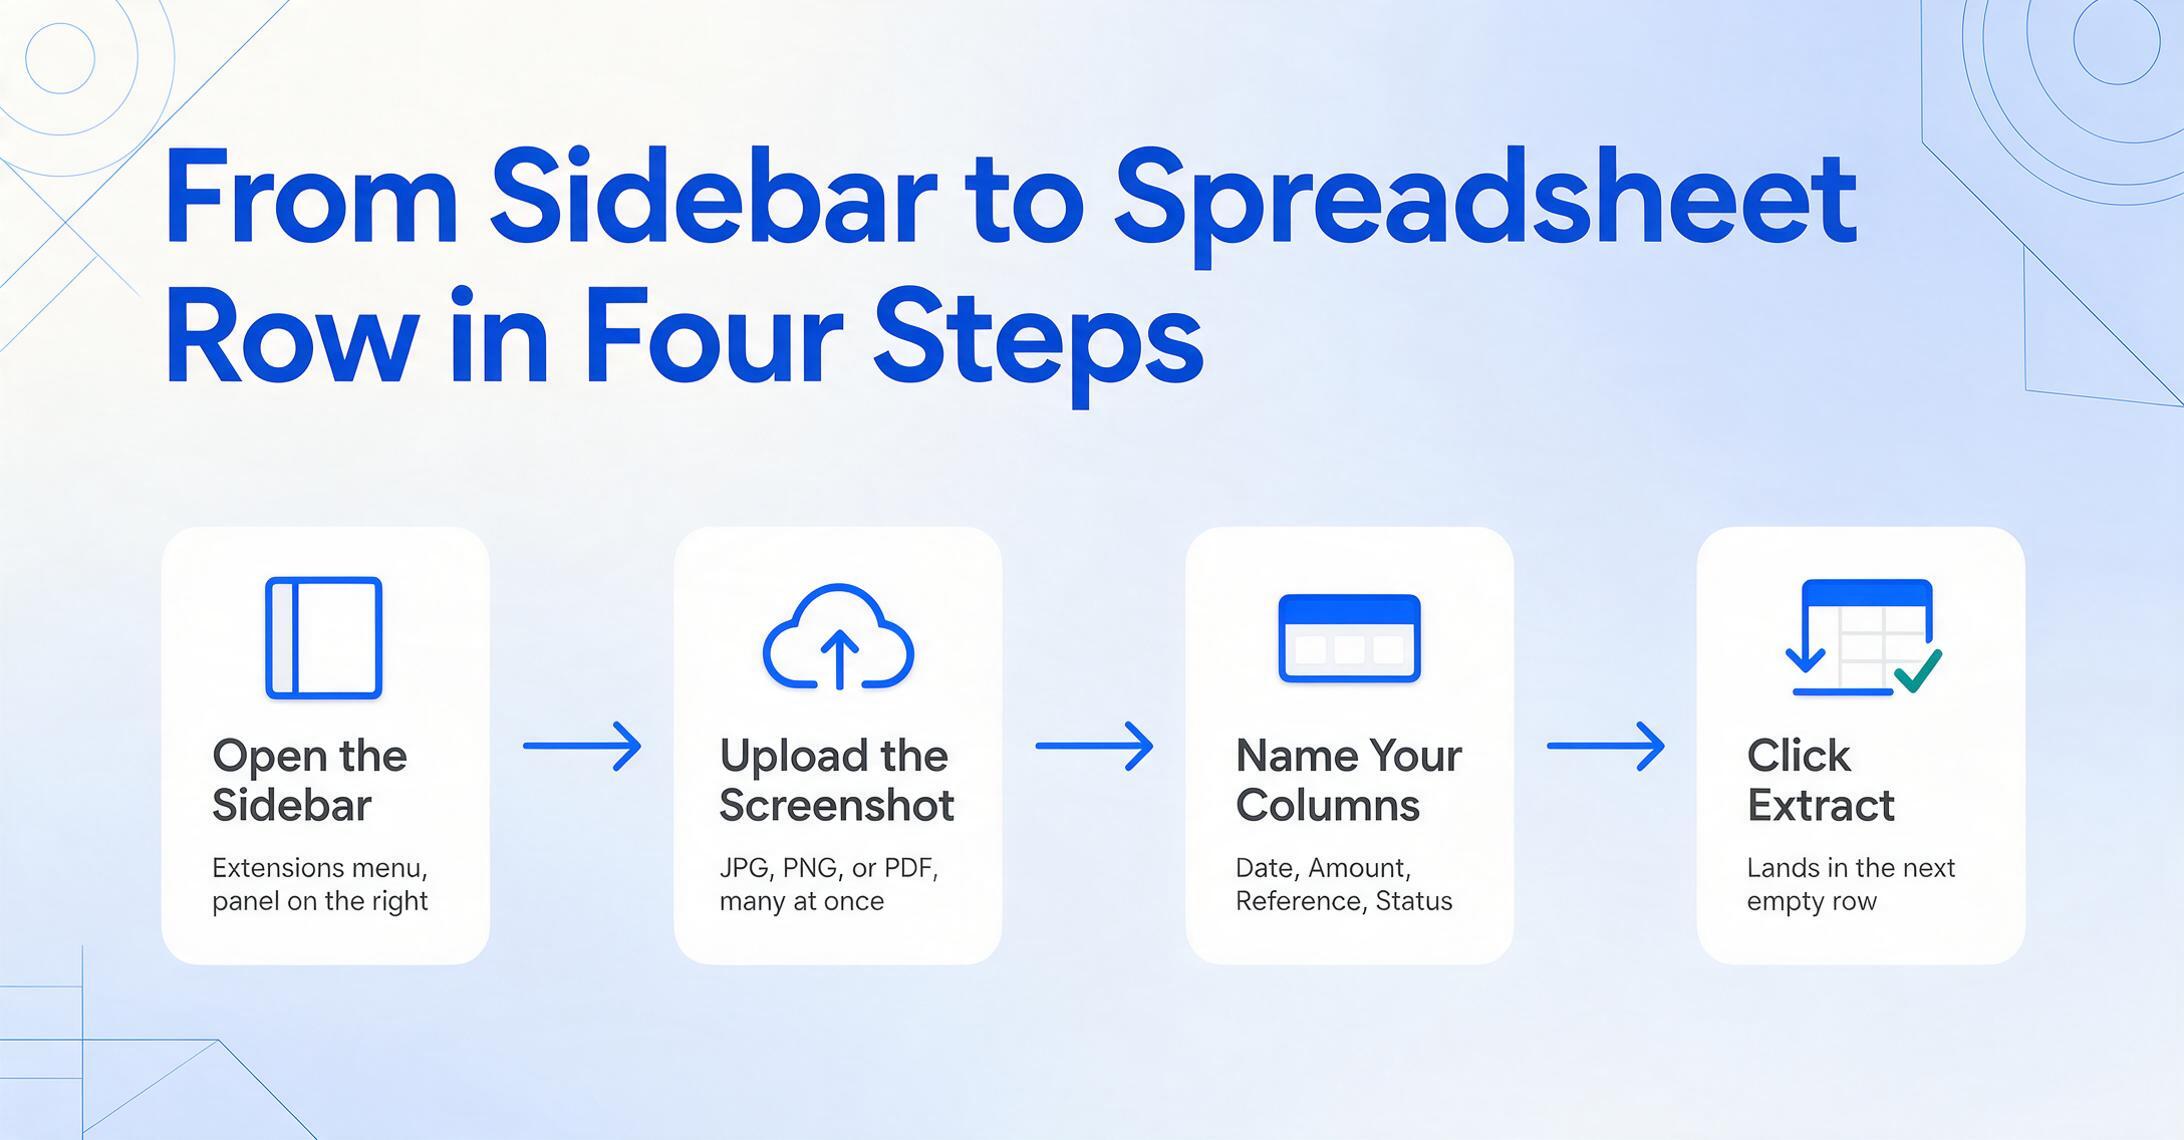
The operational flow with a sidebar add-on eliminates the middlemen: there is no CSV file sitting on your desktop, no downloaded spreadsheet to re-upload, no block of raw text to manually split into columns. The loop is: sidebar → upload → name columns → extract → data appears in the next row of your sheet.
Here is what a daily screenshot extraction session looks like with the add-on running:
Open the sidebar.
Extensions menu → your add-on → a panel slides out on the right side of the spreadsheet. The sheet you were just editing stays front and center.
Upload your screenshot.
Click Choose File or drag-and-drop — JPG, PNG, or PDF. Multiple files at once for batch processing. Each screenshot will become a row in your table.
Name the columns you want.
Type the data fields that matter: Date, Amount, Reference Number, Status. The column names you enter become the extraction instructions and the output headers — same list works across all screenshots from the same source.
Click Extract. Data lands in the sheet.
Structured data populates the next empty row of your active sheet — one row per screenshot. Your existing formulas, conditional formatting, and pivot tables reference the new data as if it had always been there. Nothing downstream breaks.
Each screenshot takes about 5–10 seconds to process, compared to roughly 3 minutes of average manual data entry for a single document page — an 18x speed difference per extraction. Upload five screenshots at once and the sidebar processes them as a batch, appending one row per image to your sheet in a single pass. The time you save isn't just the extraction itself. It's the seven steps you didn't take — the Drive upload, the Docs OCR, the copy, the paste, the column splitting, the manual row correction — multiplied by every screenshot that will ever land on your desktop.
Critically, the column definitions persist. When the next batch of screenshots arrives from the same source — tomorrow's payment confirmations, next week's dashboard snapshots — you open the sidebar, upload the new images, and the same column names are already there. No reconfiguration. The extraction layer becomes a fixed part of the spreadsheet, as permanent as a QUERY formula, but it reads images instead of spreadsheet ranges.
When the Add-On Makes the Most Sense (and When It Doesn't)
A sidebar extraction add-on is not the right tool for every image-to-spreadsheet task — and knowing the difference prevents wasted effort. The add-on's design optimizes for a specific pattern: structured data extraction from screenshots where you know which fields matter and the source format is roughly consistent. Inside that pattern, it eliminates more friction than any alternative. Outside it, simpler tools may serve better.
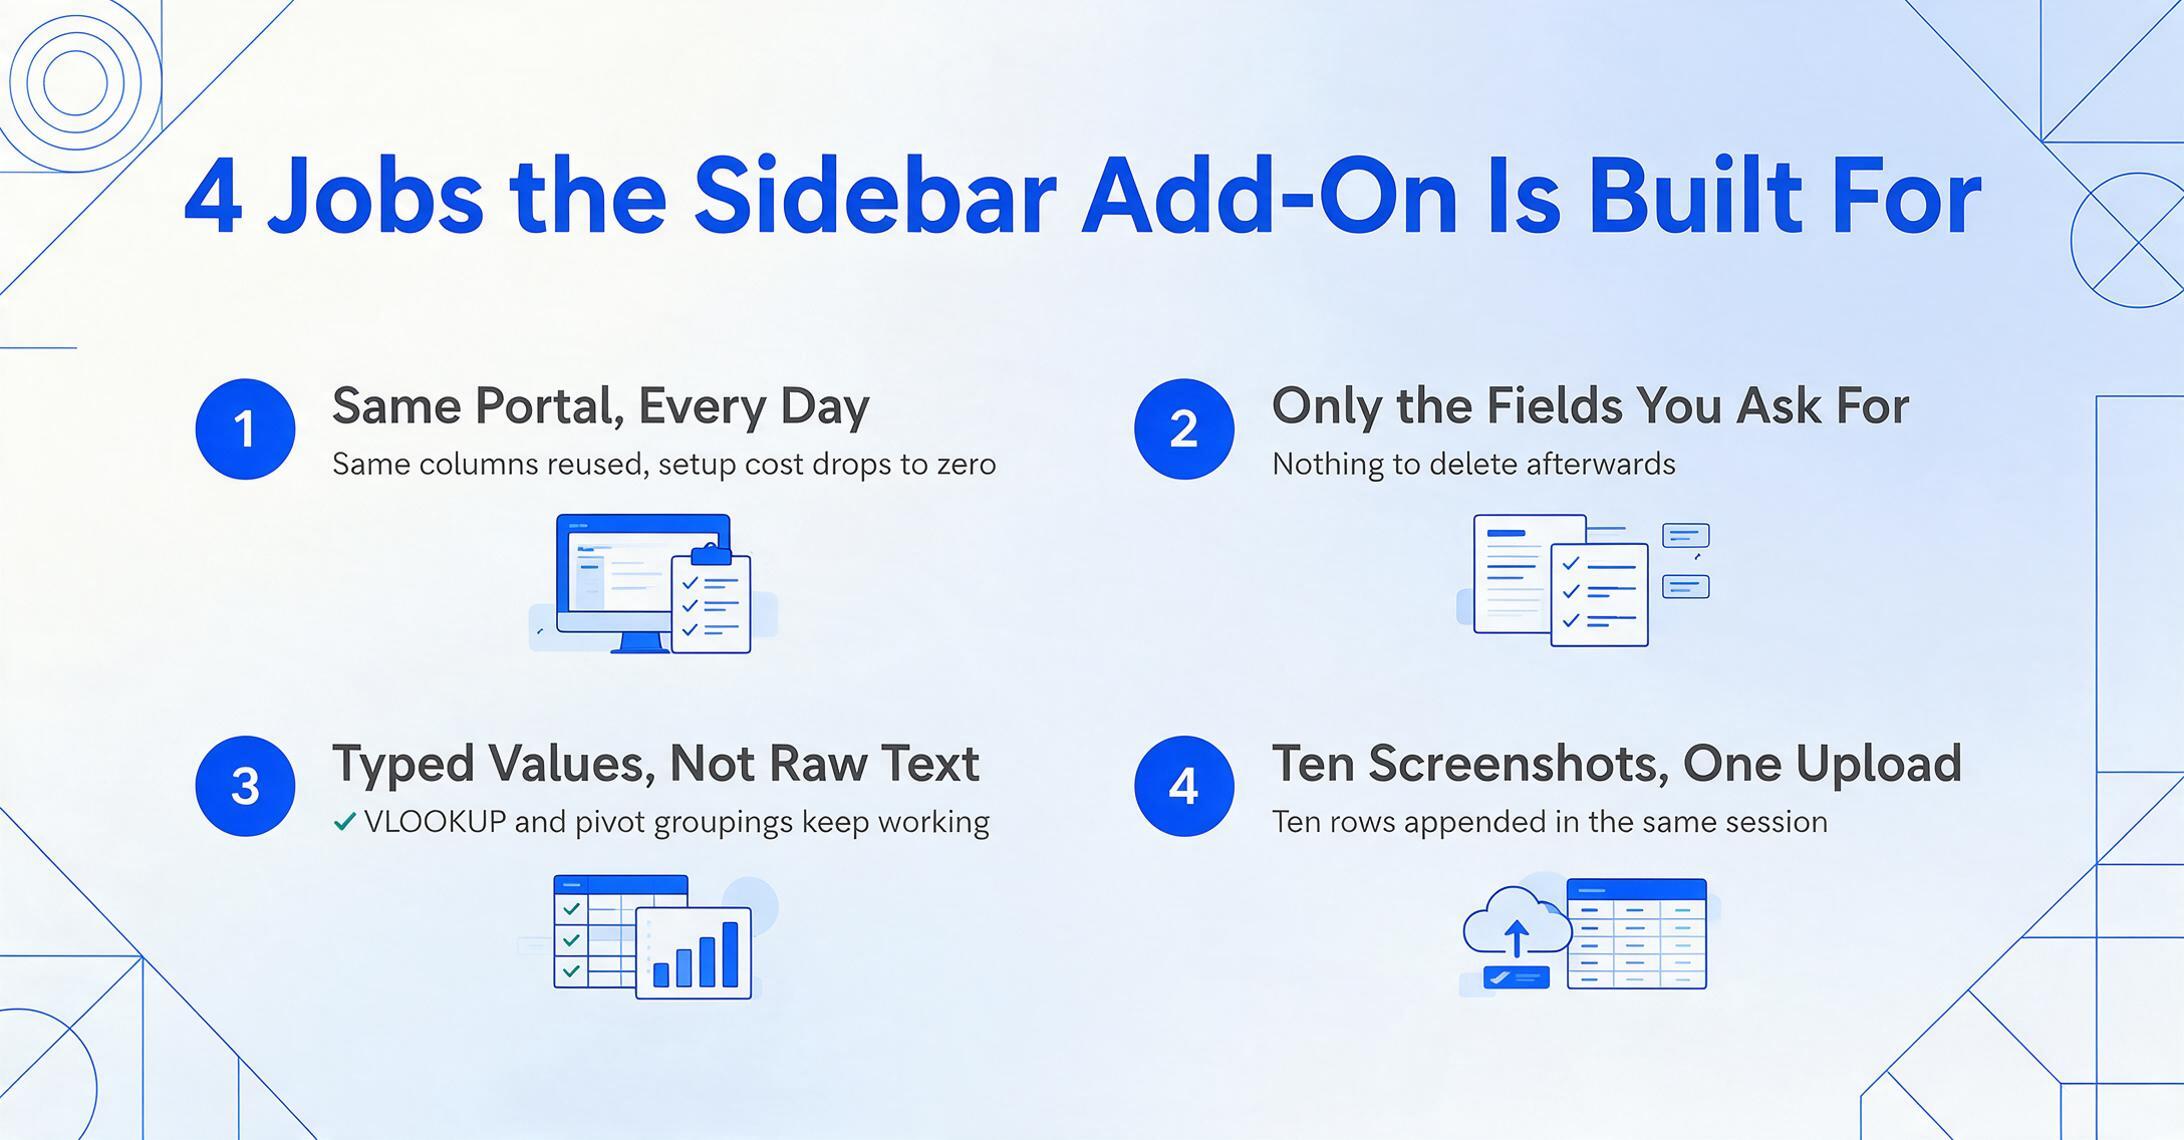
Where the add-on excels:
- Repeated extraction from known interfaces. Same payment portal, same internal dashboard, same supplier system every day or week. You define the columns once, then each new screenshot from that source is a two-click extraction. The setup cost amortizes to zero over repeated use.
- Selective field extraction. You don't want every number on the screen — just the transaction amount, the date, and the reference number. OCR tools dump every piece of text into the sheet and make you delete what you don't need. The add-on extracts only what you ask for.
- When downstream formulas depend on clean, typed data. Pasting raw OCR text into a sheet breaks
VLOOKUP, messes up pivot table groupings, and confuses conditional formatting. The add-on outputs structured data — each value in its intended column — so every formula that was working before the extraction keeps working after. - Batch processing. Ten screenshots, same column structure, one upload session. Ten rows populate in the sheet. No per-file handling overhead.
Where simpler tools may be more appropriate:
- Full printed table extraction — one-time job. If you have a single printed table in a photo and need the entire grid preserved exactly as it appears on the page, Google Drive OCR or Excel's "Data from Picture" feature may handle that one-off with less setup. The add-on's advantage — persistent column definitions — doesn't help a task you'll never repeat.
- When you truly need every data point, not select fields. The add-on is column-driven: you tell it what to extract. If your use case is "copy every visible number from this image into the sheet, I'll sort it out later," a general OCR tool that dumps all text is a more direct path — though you pay the cleanup cost downstream.
- Handwriting-heavy documents with no consistent layout. The add-on handles handwriting (powered by vision model recognition, not character-by-character OCR), but if every document looks different — different handwriting styles, different page structures, no predictable field locations — the column-name approach offers less advantage. It still works, but the time savings are smaller relative to manually typing the odd set of values.
What this means in practice: if you process screenshots from the same few interfaces week after week — and those screenshots contain specific data fields you need in a spreadsheet that already drives reports or dashboards — the add-on fits. If you're doing one-off image-to-text conversion with no downstream sheet relationships, a simpler tool is a shorter path. The add-on is not a general OCR replacement. It is a workflow-specific bridge between the screenshot sources you can't control and the spreadsheet output you depend on.
FAQ
Does the add-on work with handwritten notes or only printed text?
It works with both. The underlying extraction engine is a vision language model — it reads handwriting, printed text, and mixed documents using semantic understanding rather than character-by-character OCR. A handwritten "Total: $247.50" in the corner of a scanned form resolves the same way as a typed equivalent. That said, very poor handwriting or extremely low-contrast images will reduce accuracy — the same limitation that affects any AI-based recognition system.
Do I need a separate account for the add-on vs. the web app?
No. You generate an API key once from your web account and paste it into the add-on sidebar. This binds the add-on to your account — your usage is counted against the same plan quota, and your column templates and extraction history sync between the web platform and the add-on. One account, one API key, two entry points (browser and sidebar).
What happens when I upload multiple screenshots at once?
Each screenshot is processed independently and appends one row to your active sheet. If you upload five screenshots with the columns "Date | Amount | Reference", you get five rows. The row order corresponds to the upload order. All screenshots share the same column definitions for that session.
Do my column definitions save between sessions?
Yes — when the add-on is bound to your account via API key, your column templates sync and persist. The next time you open the sidebar in any spreadsheet, the same columns are available. You can also create named templates for different data sources (one set of columns for payment confirmations, another for dashboard KPI screenshots) and switch between them.
Does the add-on modify anything in my spreadsheet beyond adding extracted data?
No. The add-on writes extracted data into rows starting from the next available empty row in your active sheet. It does not create new sheets, modify existing cells, alter formulas, or restructure your data. The only permission it requests — write access to the active spreadsheet — is precisely for appending these rows. If you want to use the web platform instead to convert screenshots to Excel and then import the file yourself, that's also an option — the add-on just removes the file import step from the loop.
What file formats does the add-on accept?
JPG, PNG, WebP, AVIF, and PDF. Webpage screenshots taken with any screen capture tool are typically PNG or JPG — both are supported. There is no special preparation needed; you upload the screenshot as-is.
Is there a limit on how many screenshots I can process?
Usage is counted against your account's plan quota — the same limits that apply on the web platform. There is no separate add-on limit. If your plan includes 500 pages per month, those 500 pages can be processed through the web app, the add-on, or any mix of the two.
The friction that wears on people isn't the extraction itself — it's the context-switching. Closing your spreadsheet tab, opening Drive, waiting for Docs OCR, copying text, pasting, running Text to Columns, fixing the two rows where the AI split a vendor name across three cells. When the extraction step lives inside the same sheet where your data already lives, the question stops being "how do I get this screenshot into Sheets" and becomes "what do I do with the data now that it's here."
Install the add-on from the Google Workspace Marketplace, bind your API Key from your account settings, and your next screenshot lands in the sheet — not on your desktop.