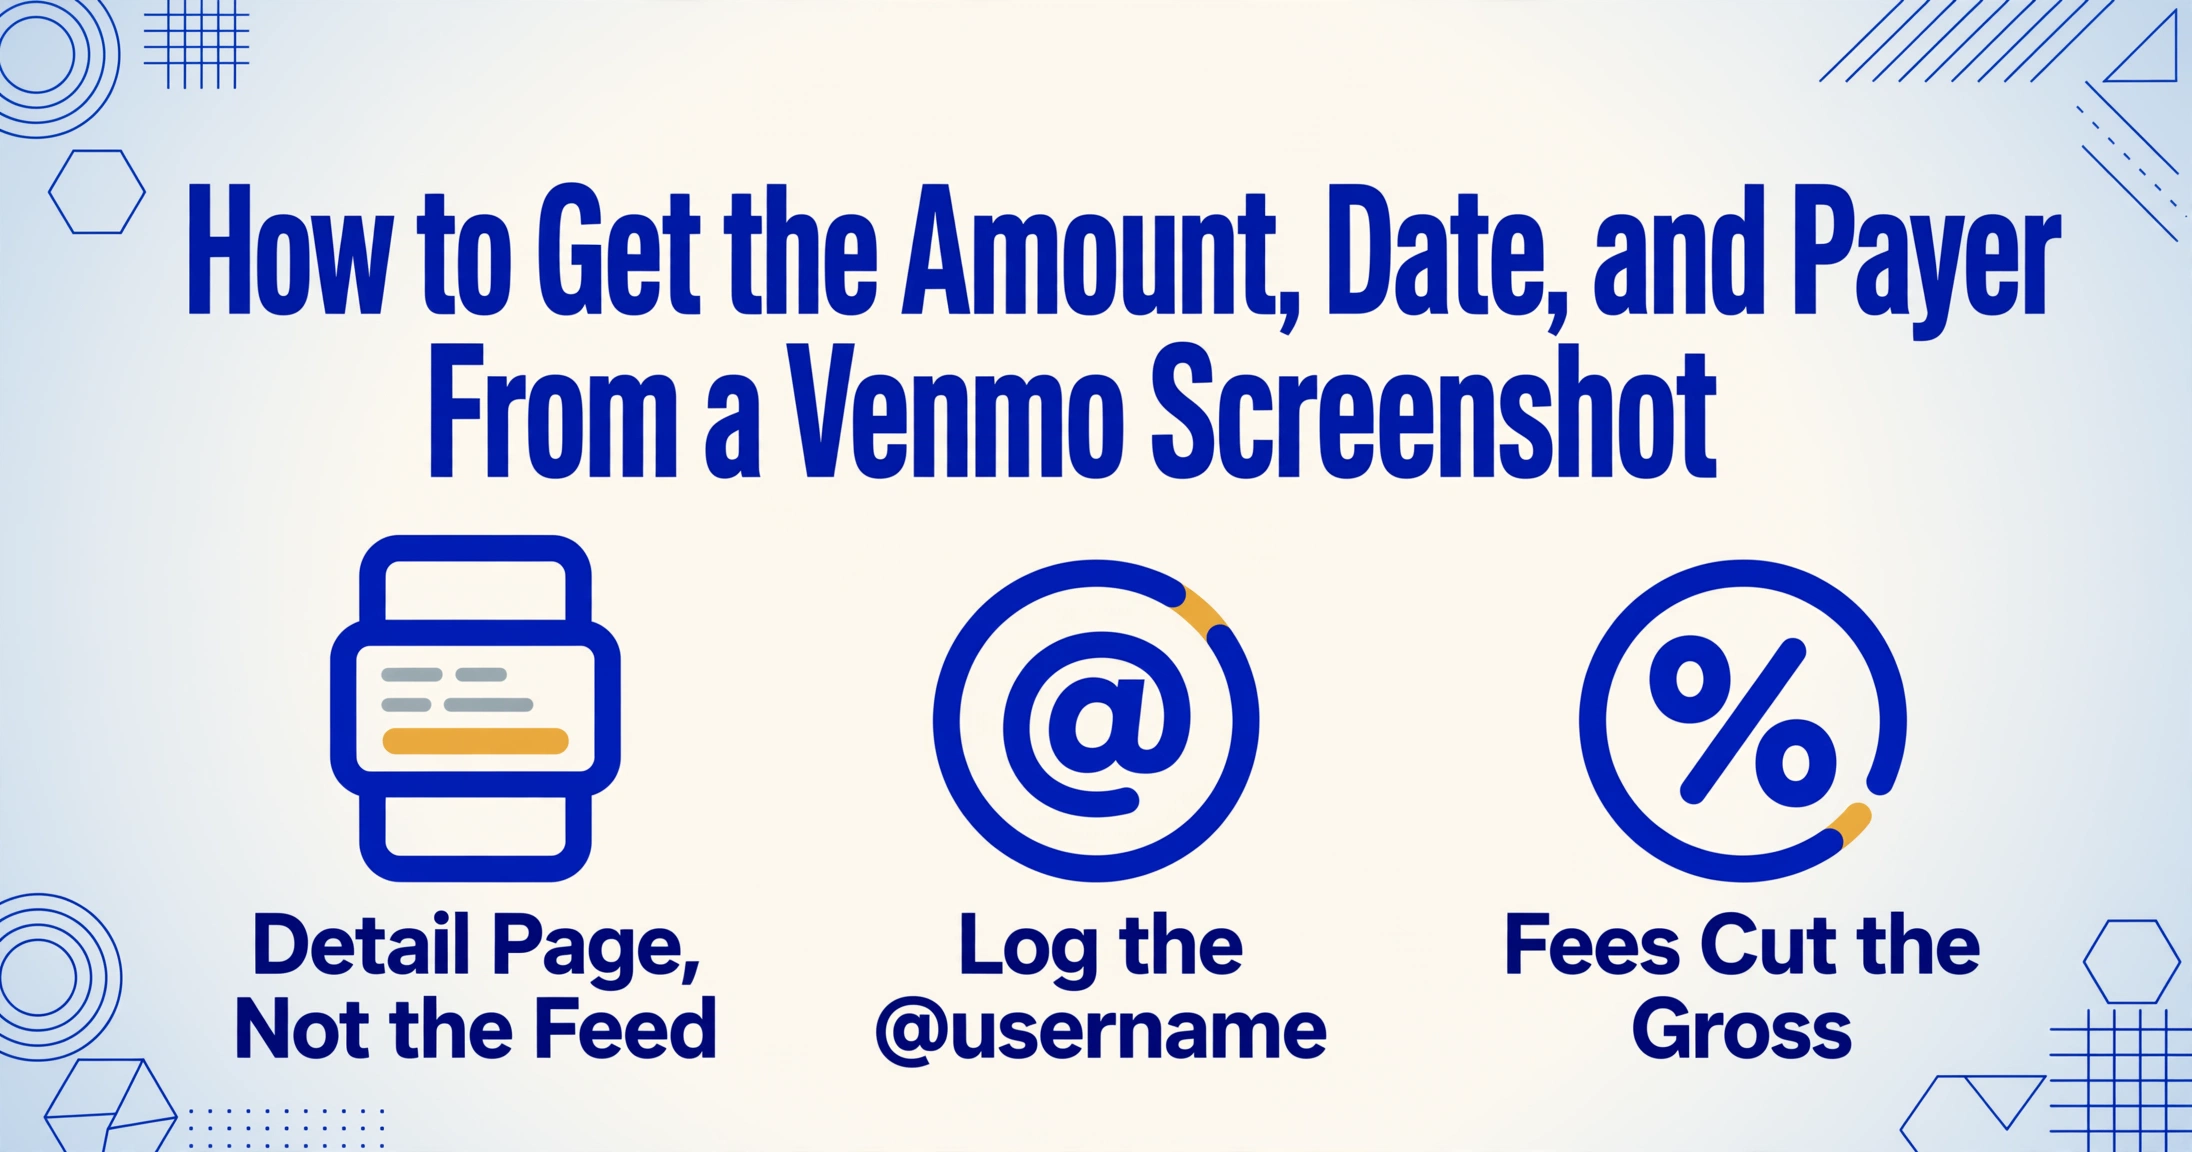
How to Get the Amount, Date, and
Payer From a Venmo Screenshot
A Venmo screenshot captures three pieces of data you actually need — the dollar figure, the calendar date it landed, and who sent it — but none of the three is as straightforward as it looks. The amount might not be what reached your balance. The payer's name is one of three identities Venmo keeps per person, and the one you'd put on a receipt isn't visible. The date might just say "Yesterday" because you grabbed the wrong screen. If you're logging transactions from screenshots — for an income record, a month-end reconciliation, or a folder of payments to turn into a tax-season spreadsheet — catching these traps before they become wrong entries is the difference between a clean log and one you'll have to redo.
Where the Fields Sit on a Venmo Screen
On a Venmo transaction detail page — the screen you get by tapping into a single payment from your feed — the amount is the easiest field to spot: a large, centered number near the top, hard to miss. The payer appears as two stacked lines directly beneath it or beside the profile photo: a bold display name (whatever the person typed into their profile) and, on the line below, an @username handle. The date and time sit further down, usually in a smaller font, along with the payment status and the note or memo the sender attached.
The feed view — the scrolling timeline of all your transactions — is not the same screen. It shows a compressed version: amount, display name, and a relative timestamp like "3d" or "Yesterday." The full calendar date and the @username handle only appear when you tap through to the individual transaction. If your screenshot came from the feed, you got a version of the data that's missing the permanent identifier and the real date. Every field you actually need sits on the detail page.
This layout is for the standard Venmo mobile app, but the same information appears on the web version at venmo.com — arranged in a single-column desktop layout rather than a mobile card. A screenshot from either platform contains the same set of fields, just positioned differently. Venmo rolled out a visual redesign in early 2026 with larger rounded blocks and updated typography, which shifted element spacing but left the field order unchanged. If your screenshots span both the old and new UI, the data is still in the same relative positions.
The Payer Problem: Three Names, Two on Screen
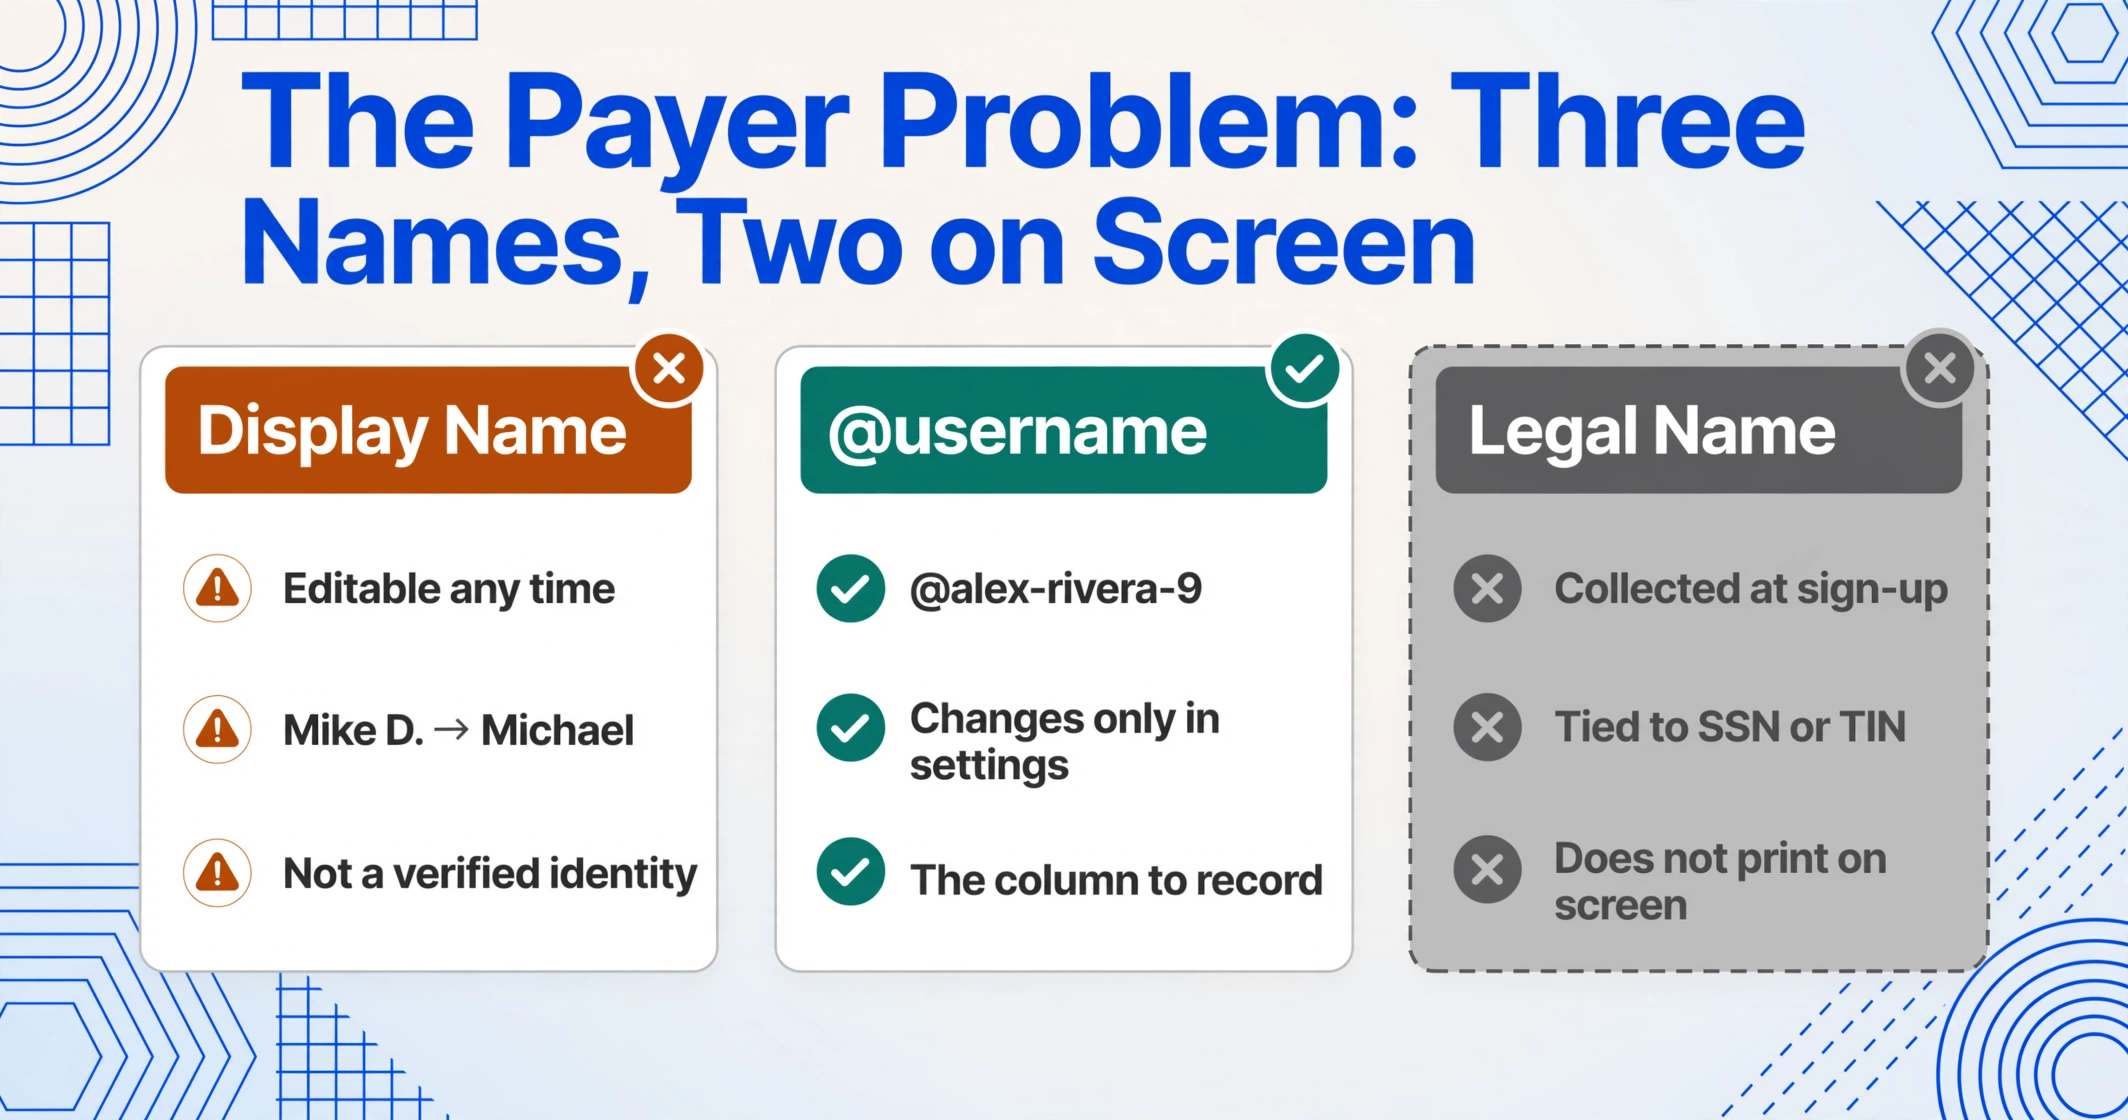
Venmo carries three separate identities for every person, and a standard transaction screenshot captures only two of them. There's the display name — editable at any time, limited only by what Venmo's user agreement allows. Someone named Alexandra Rivera can appear as "Alex R.," "A. Rivera," or whatever they typed in that morning. There's the @username — a permanent handle like @alex-rivera-9, changeable only through account settings. And there's the legal name — the one Venmo collects at sign-up for identity verification and federal compliance, tied to a Social Security Number or TIN. This third identity does not print on a private transaction view.
The practical consequence: the name visible on a payment screenshot is a display preference, not a verified identity. For an informal personal log among people you know, "Alex R." is enough. For a Schedule C income record, a receipt you issue to a customer, or matching a payment to a specific client in your books, it isn't. The @username is the stable identifier — it doesn't change with someone's mood or their latest inside joke — so make it the column you record, not the display name. If you need the legal name, you'll have to ask the sender directly; the screenshot won't contain it.
This matters more than it sounds. On Reddit, freelancers who receive Venmo payments from clients often find that a single person's display name shifts across payments — "Mike D." in January becomes "Michael" by March — while their @username stays constant. Without the handle, you can't reliably group transactions by payer when you build your end-of-month or end-of-quarter totals.
When the Amount on Screen Isn't What You Actually Received
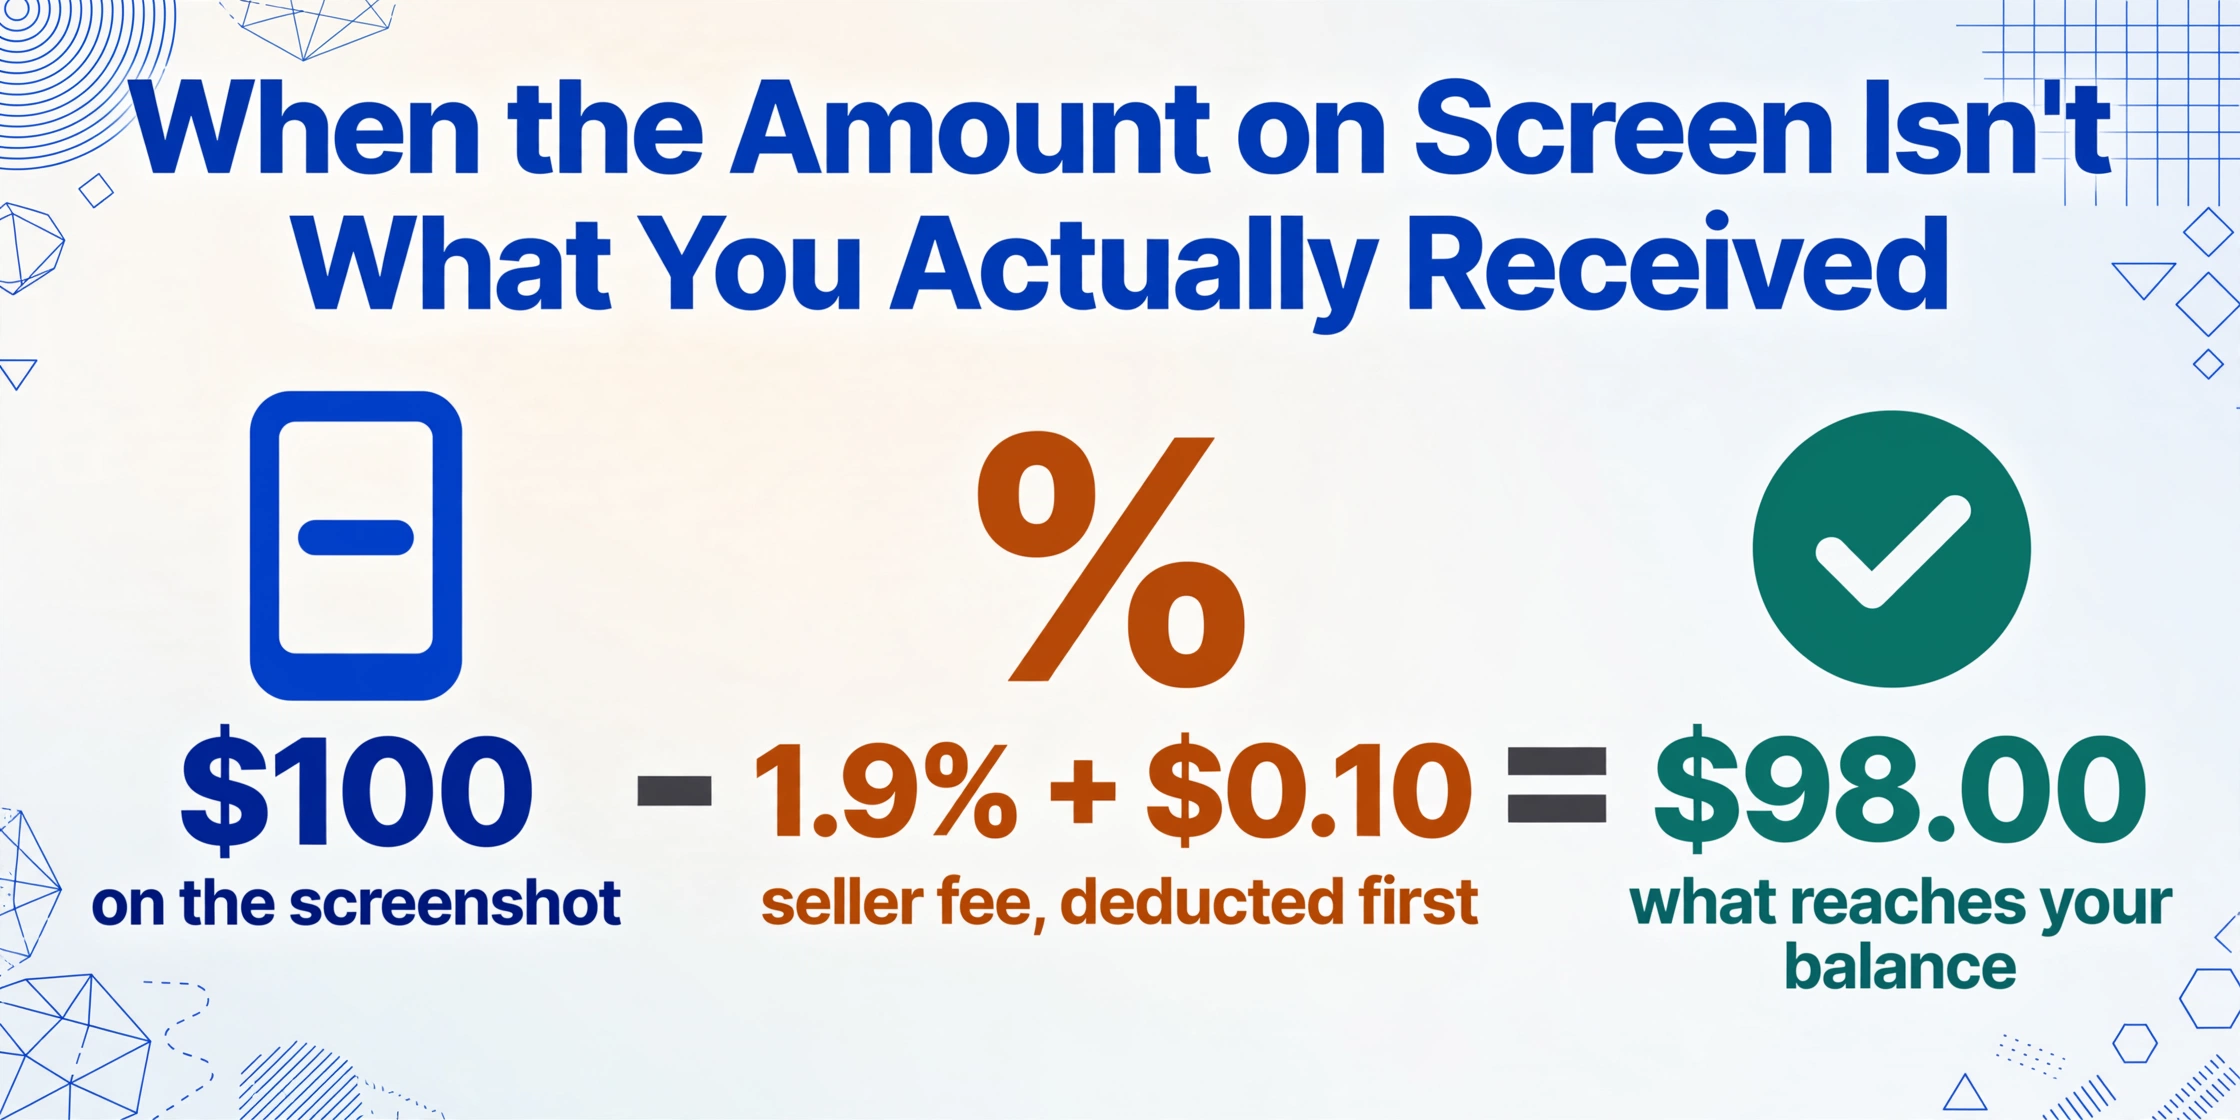
The dollar figure on a Venmo detail screen is the gross payment — not necessarily the net you received. On a personal payment between friends, funded by a bank account, debit card, or Venmo balance, there's no fee: what the screenshot shows is what landed in your balance. Two situations quietly subtract from that number.
First, business profile payments. Venmo charges a seller transaction fee of 1.9% plus $0.10 on every payment received through a business profile. The fee is deducted before the money hits your Venmo balance. A $100 payment generates a screenshot that says $100. Your balance increases by $98.00. The fee deduction leaves no visible trace on the transaction detail page — you only see the net effect if you check your balance before and after.
Second, payments tagged "for goods and services" on a personal account. If the sender toggles the purchase protection option when paying a personal profile, Venmo treats it as a commercial transaction and the same 1.9% + $0.10 fee applies. The recipient sees the gross amount on screen and the net in their balance, same disconnect.
A third, narrower case: payments funded by a credit card cost the sender 3%, but the recipient sees and receives the full amount regardless. That fee falls on the sender's side and doesn't affect your screenshot-to-spreadsheet workflow. The fees that matter for your records are the ones deducted from your side: business profile and goods-and-services payments. If you're logging income, record the gross and the fee as separate columns so your spreadsheet totals match your actual bank deposits.
Date Traps: Why Your Screenshot Says "Yesterday"
Venmo's feed shows relative timestamps — "Today," "Yesterday," "3d," "1w." The actual calendar date and time only appear when you tap into the individual transaction detail page. If your screenshot came from the feed, you have a date that becomes useless the moment you close the app. "Yesterday" means nothing when you're looking at the screenshot three weeks later, trying to figure out which Tuesday in June a payment landed.
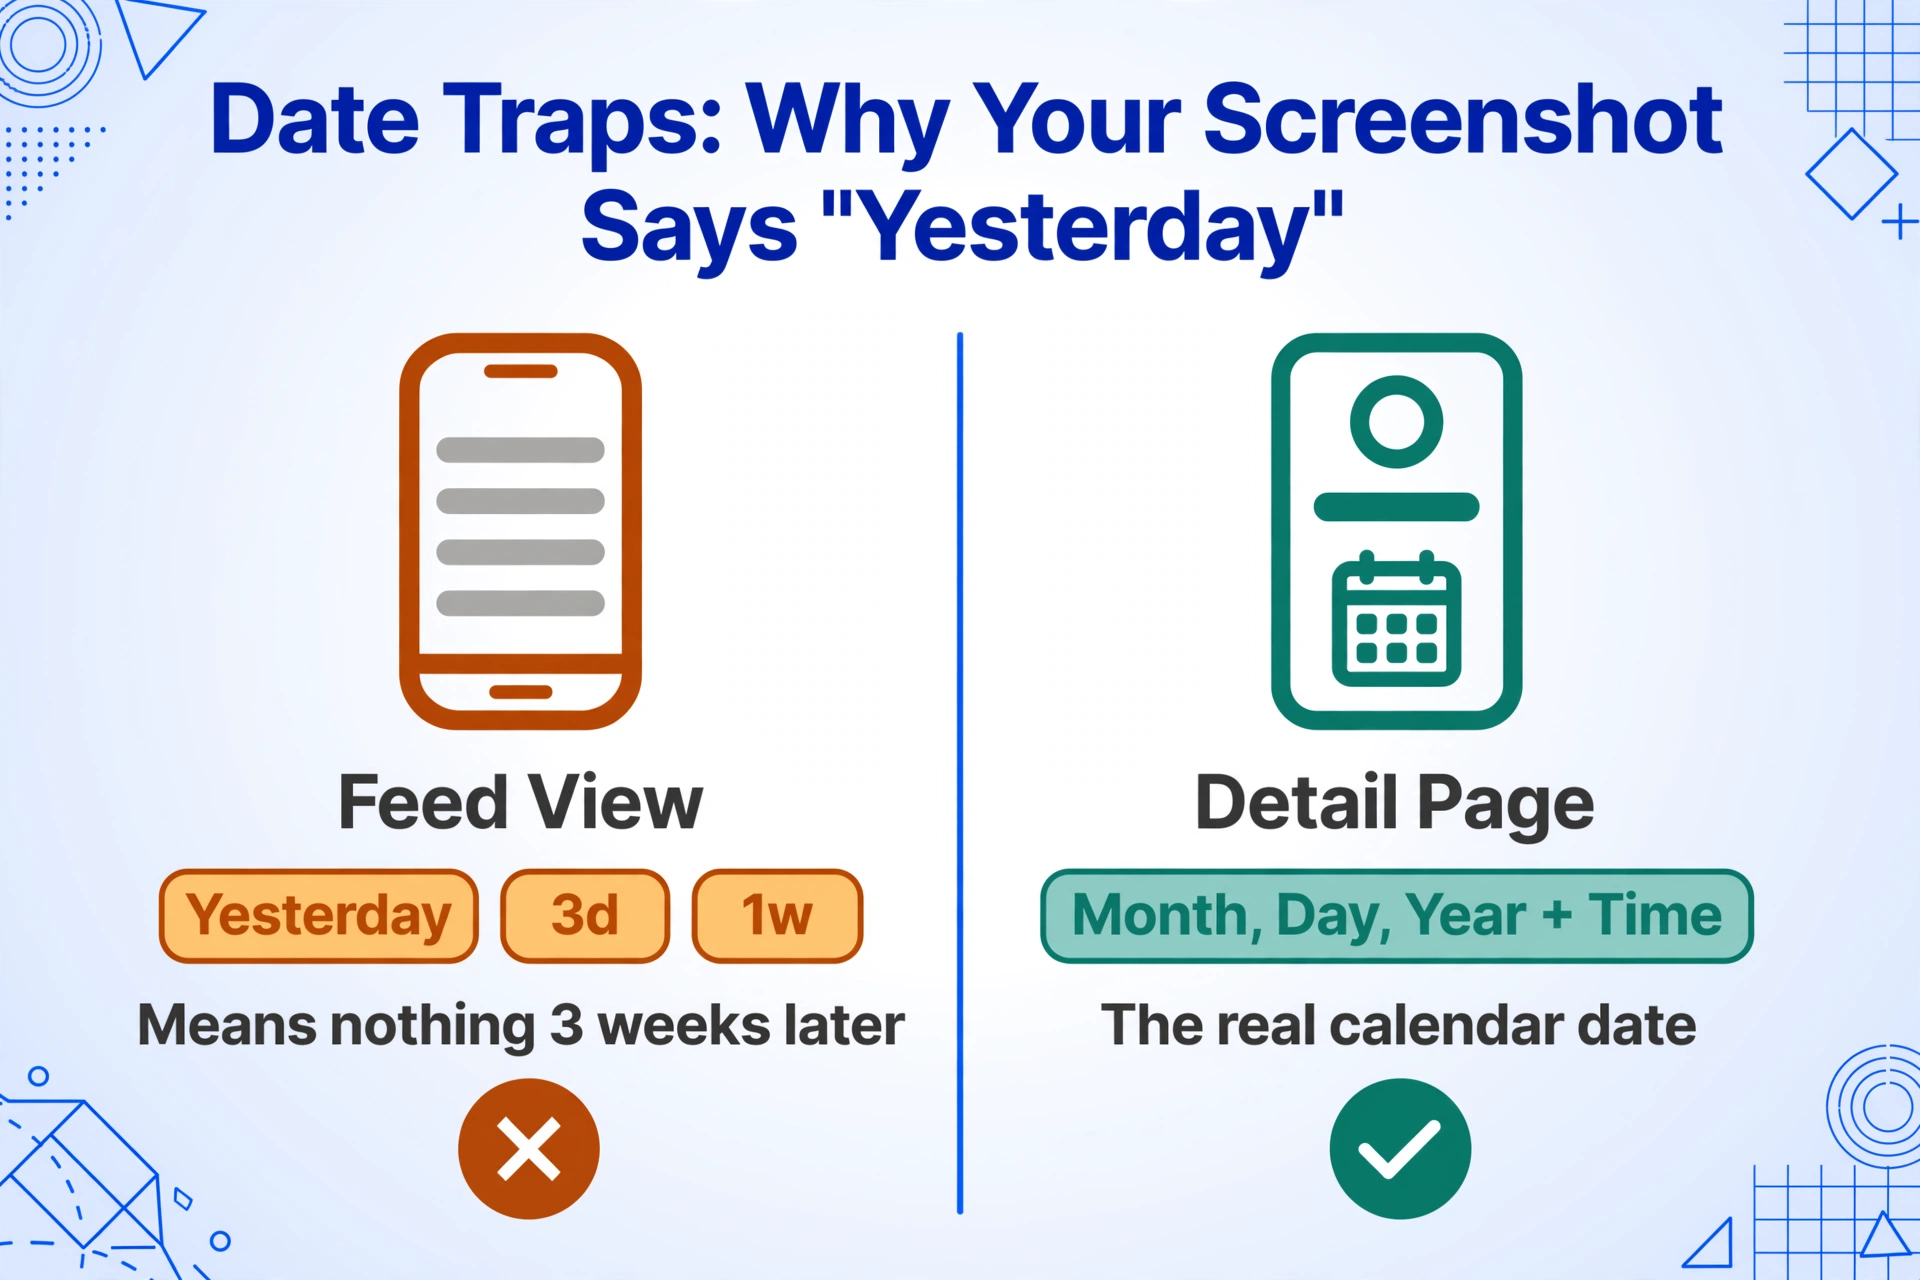
The detail page gives you the real date — month, day, year, and a timestamp. Screenshot that page, not the feed. This is the single most common mistake people make when logging Venmo transactions from screenshots, and it's not recoverable: once the relative timestamp outlives its context, you can't derive the calendar date from it without cross-referencing against another record.
One more thing about dates on Venmo screenshots: the date shown is when the transaction was completed, not when it was initiated. Bank-funded payments can take 3-5 business days to clear, during which they show as "Pending" in the feed. The detail page for a pending payment won't show a final settlement date — only an estimated completion window. If you need the date the money became available to you (for cash-basis accounting or for matching against a bank statement), wait until the payment status flips from "Pending" to "Completed" before you screenshot.
From Screenshot to Spreadsheet — Without Retyping
Once you know which three values you need and which version of each to capture, the extraction step is the straightforward part. The mechanism that makes this work across screenshots from different people and different Venmo UI versions is Custom Column Extraction: you define the output columns you want — Amount, Date, Payer (@username) — and the extraction locates each value in the screenshot by understanding what the field means, not where it sits on the screen.
This matters because a Venmo screenshot from a power user with a six-line emoji note pushes the payer name down the page. A screenshot from the desktop web version arranges fields in a single column instead of a mobile card. A screenshot from before the 2026 redesign has different spacing and typography. A template-based approach — drawing a bounding box around where the amount "usually" lives — breaks the moment the layout shifts. Semantic extraction doesn't care: it finds "the number that represents a dollar amount" and "the handle prefixed with @" wherever they land.
The same column definitions work across any payment app screenshot — Venmo, Zelle, PayPal, Cash App — because you're telling it what to find, not where. Drop in screenshots from three different platforms in one batch, and the output is a single spreadsheet with one row per transaction, columns matched. No retyping, no copy-pasting, no writing a Google Apps Script to parse text. For the full multi-app workflow — one column set, one batch, one spreadsheet — see the payment screenshot spreadsheet workflow.
Files are processed securely and not stored.
The workflow is the same idea for any payment app screenshot — Venmo, Zelle, Cash App — because the extraction reads what's in the image, not which app generated it. The same column set works across platforms without reconfiguration.
What You Actually Do With That Row After You Extract It
Pulling the amount, date, and payer out of a screenshot is the first half. The second half is what happens once those three values land in a spreadsheet row — and it's rarely a one-off. The pattern repeats wherever money comes in through Venmo on an ongoing basis.
For income tracking and tax filing: freelancers, side sellers, and anyone receiving 1099-reportable payments through Venmo need a complete log by payer and date. The IRS looks at total receipts, not per-platform silos, and Venmo's built-in CSV export maxes out at 90 days per download — with extra metadata columns like Funding Source and Transaction ID cluttering the output. A direct screenshot-to-spreadsheet workflow skips the download-and-clean step. If you're filing a Schedule C, the @username becomes your payee identifier and the amount column becomes your gross receipts line — with a separate column for the fee if any payment came through a business profile.
For month-end reconciliation: matching what your Venmo balance shows against what your bank statement says requires line-by-line comparison. A spreadsheet of extracted transactions — amount, date, payer — gives you the Venmo side of the reconciliation in the same format as your bank export, making mismatches visible in minutes instead of an afternoon of cross-referencing.
For issuing receipts or payment confirmations: if a client or customer pays you through Venmo and asks for a receipt, the extracted row gives you the three data points you need — amount, date, payer — to fill your receipt template. The display name from the screenshot is what the client sees themselves as, so use that on the receipt; the @username stays in your internal records as the stable reference.
The common thread across all these downstream uses isn't a specific profession or income level. It's volume: the difference between one screenshot you'll hand-type and thirty you won't. Once you're looking at a month's worth of incoming payments instead of a single dinner split, the three-column extract becomes the difference between logging income and dreading it.
FAQ
Can I get the sender's real name from a Venmo screenshot?
No. A standard transaction detail screen shows the display name and @username, not the legal name Venmo holds for identity verification. The @username is the stable identifier for your records. If you need a legal name — for issuing a formal receipt or matching a payment to a specific customer — ask the sender directly.
Why does the amount in my screenshot not match what hit my bank?
If the payment came through a Venmo business profile or was tagged "for goods and services" by the sender, Venmo deducts a 1.9% + $0.10 seller fee before the money reaches your balance. A $100 payment generates a screenshot showing $100, but $98.00 lands in your account. Record the gross from the screenshot and log the fee separately if you're tracking net income.
Does this work for Venmo screenshots from the desktop website too?
Yes. The same fields — amount, payer name, date — appear on the web version at venmo.com, arranged in a single-column desktop layout. The date is always an absolute calendar date on the web version (no relative timestamps), and the @username is visible. The extraction doesn't care whether the screenshot came from a phone or a browser.